
This article is the 5th entry in the CAMPHOR- Advent Calendar 2021.
I have participated in the CAMPHOR- Advent Calendar since its first edition in 2014, making this my 8th participation. Time flies.
This time, I would like to introduce a simple construction style for household task reminders that I often need in my personal life.
Now, I mainly use Slack and Snapchat as communication tools within my household. I use Slack for daily conversations and Snapchat to share videos of my children and cats, as well as other everyday scenes. While I love Snapchat, I will set that aside for now; Slack is also the best option for reminders of household tasks, so I flow various notifications into Slack.
In this article, I will explain the construction steps using the example of a reminder for a weekly deadline for a co-op online order.
Example: Co-op Online Order Reminder#

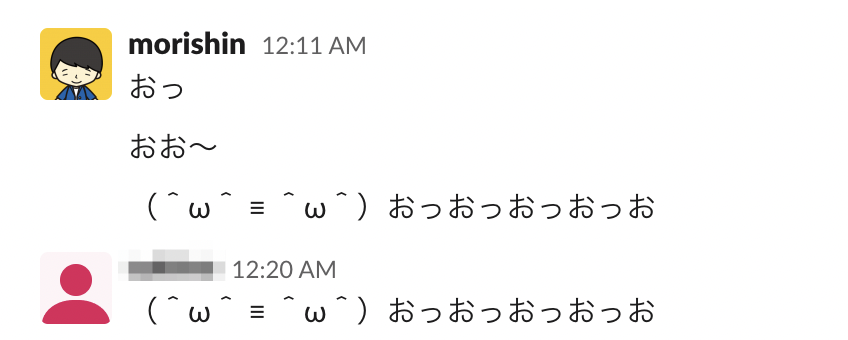
I post notifications like the one in the image at a fixed time every week. If it’s a regular post with a template, it can be achieved without code using Slackbot, but since I wanted the delivery date string to be different each time, I had to write some simple code myself. There are several ways to run any program regularly, but I think using AWS Lambda and AWS EventBridge (formerly CloudWatch Events) is the easiest. Moreover, by utilizing Lambda layers and the editor in the AWS console, you can complete development with just browser operations, which is fantastic, so I will introduce that style. For those who prefer to write source code locally, manage it with git, and deploy it using AWS CDK, I will also introduce that style later in the article.
(By the way, the cat in the image, Noru-kun, is our first cat and very cute. For more details: https://scrapbox.io/morishin/Cats)
Browser-Only Approach#
Creating the Function#
Log in to the AWS console, open the Lambda page, and click "Create function" to open the function editor screen. From there:
- Write code in the browser editor.
- Select EventBridge from "Add trigger," set the rule to "Schedule expression," and configure the cron expression.
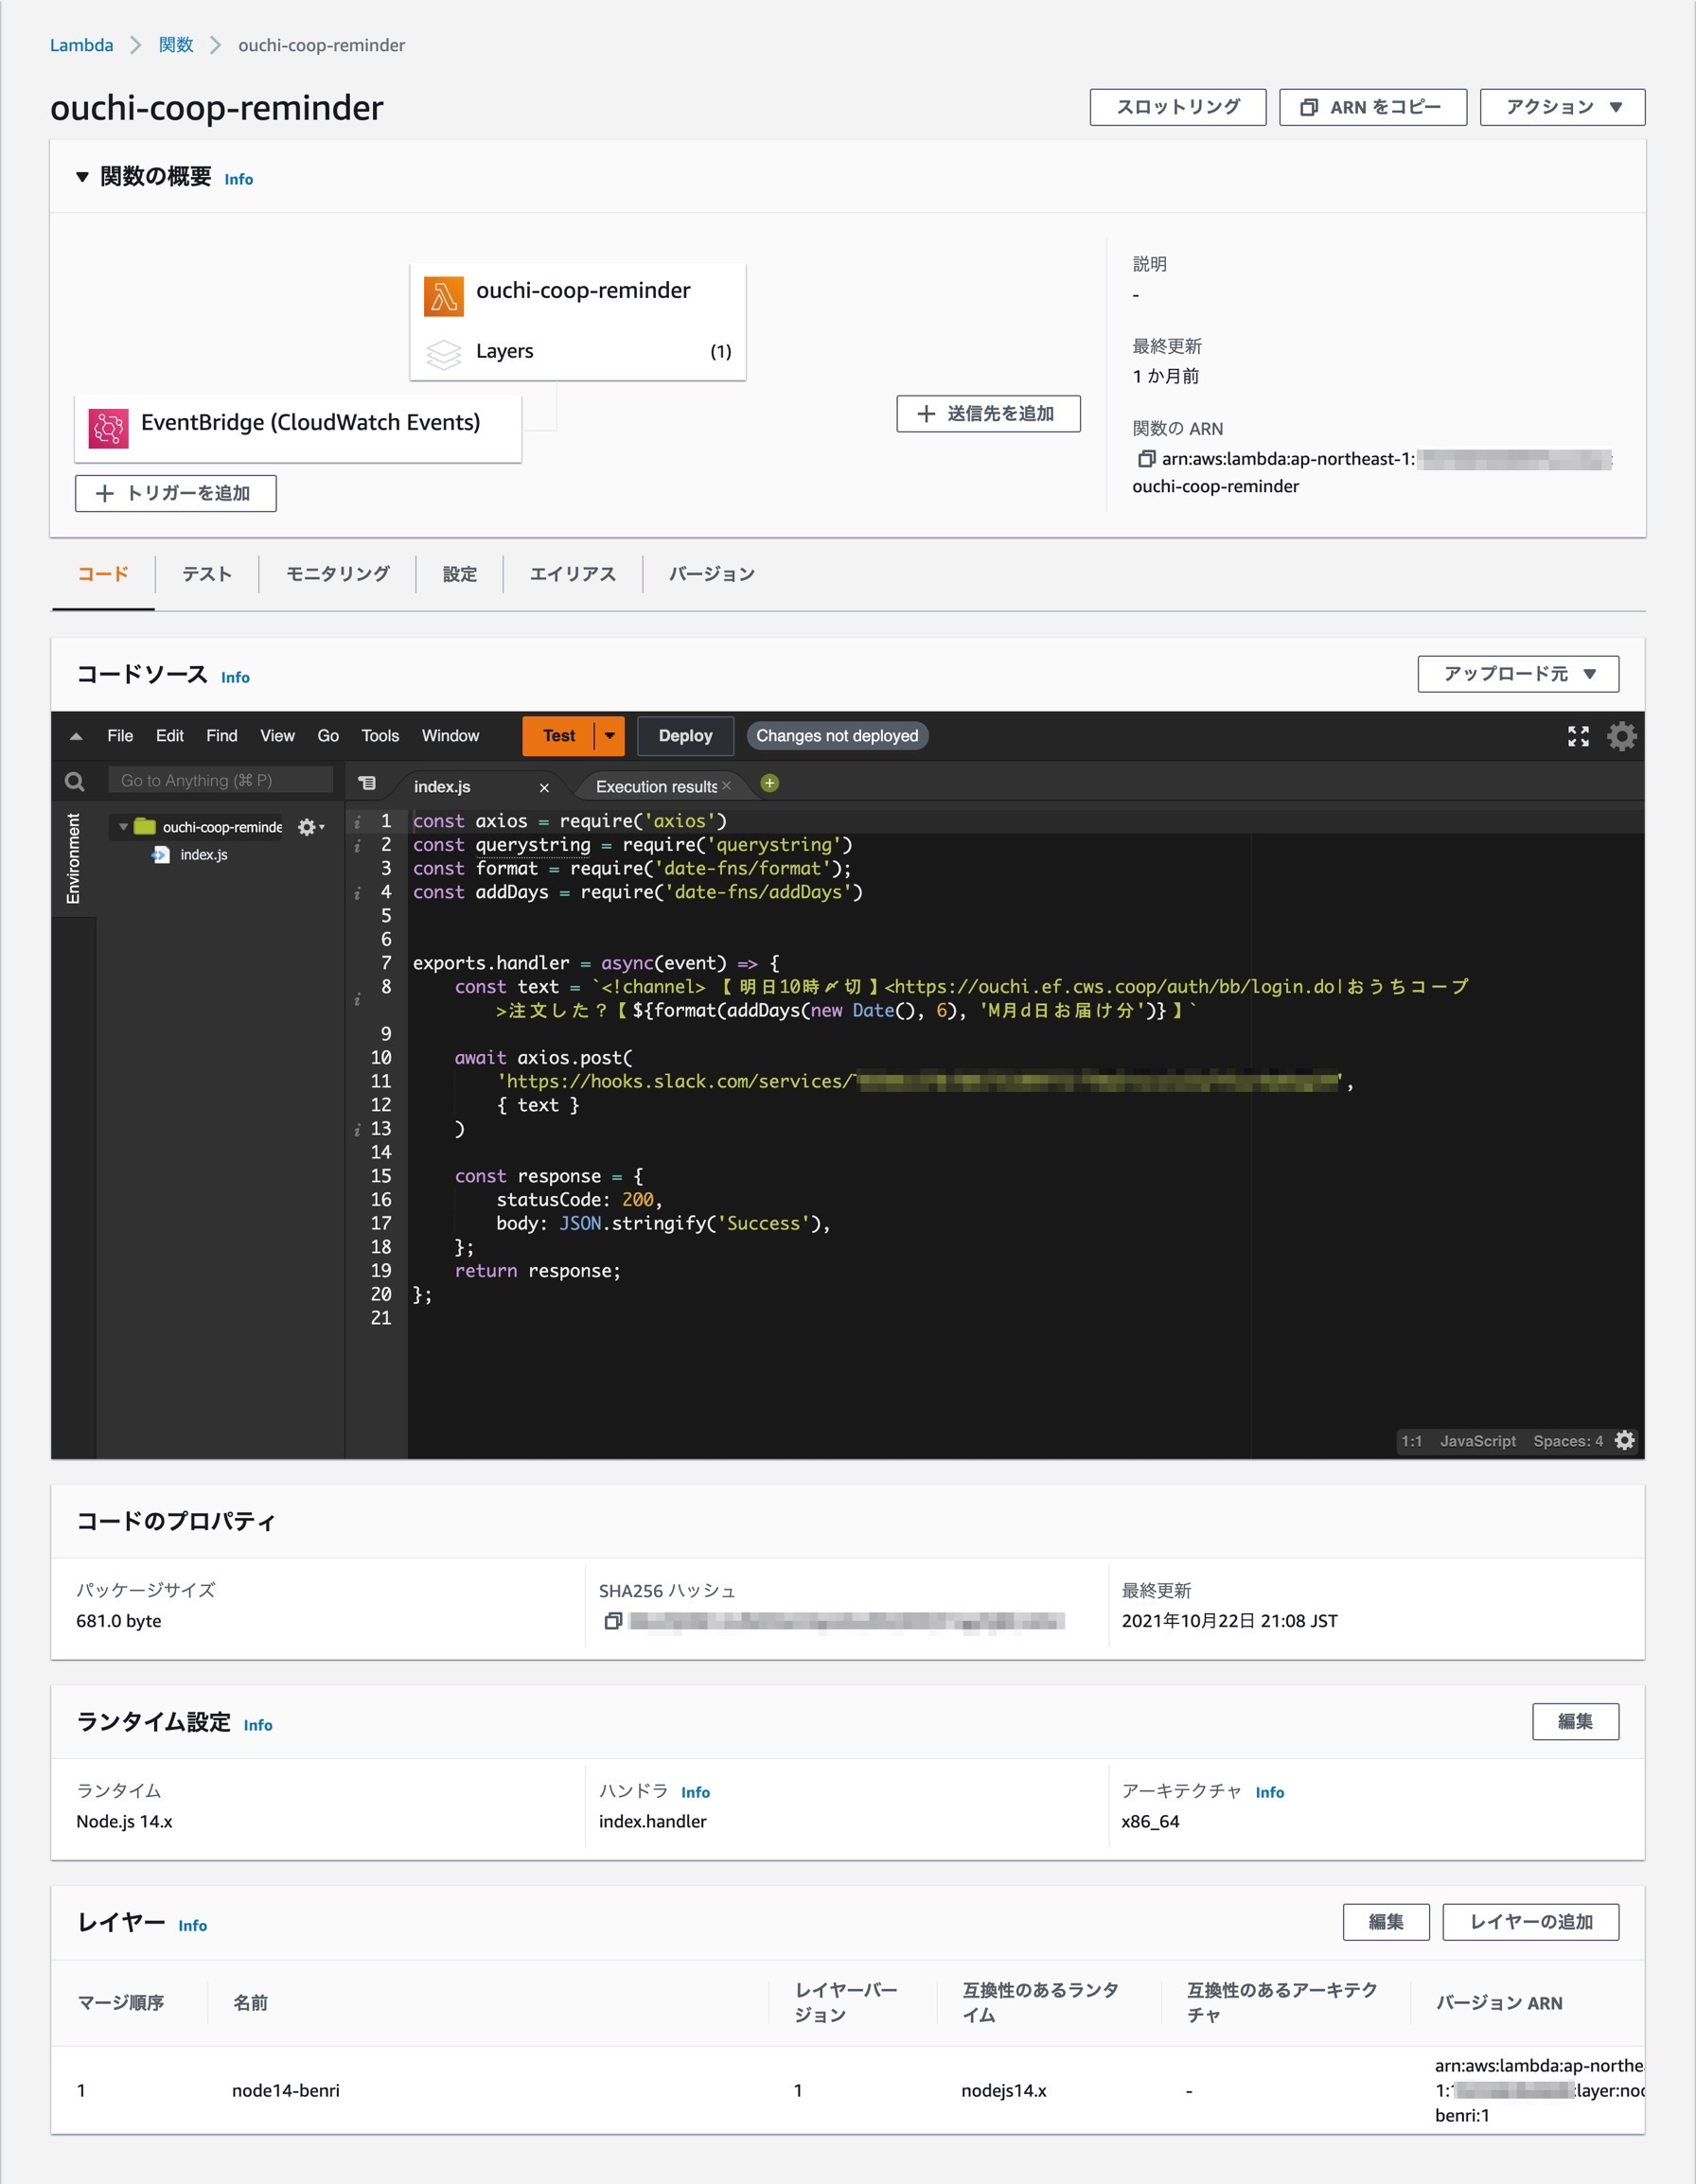
That's all it takes to complete a regularly executed Lambda function. The final version of the co-op online order reminder looks like this.
Reusing Modules with Lambda Layers#
Looking at the implementation code in the image, there are several dependency libraries.
const axios = require('axios')
const querystring = require('querystring')
const format = require('date-fns/format');
const addDays = require('date-fns/addDays')
These are libraries I often use personally, but if you zip the installed node_modules of such frequently used packages and upload them as a Lambda layer, you can import them just by selecting that layer in the AWS console's Lambda function editor, making it truly convenient to complete development in the browser.
Implementing the Function#
The implementation of the Lambda function itself is so simple that it requires no explanation, but it posts a text containing a string that links to the co-op order page and the delivery date string for that time via Slack's Incoming Webhook.
exports.handler = async (event) => {
  const text = `<!channel> 【Deadline at 10 AM Tomorrow】<https://ouchi.ef.cws.coop/auth/bb/login.do|Ouchi Coop> Did you order?【${format(
    addDays(new Date(), 6),
    "M月d日お届け分"
  )}】`;

  await axios.post(
    "https://hooks.slack.com/services/XXXXXXXX/XXXXXXXX/XXXXXXXXXXXXXXXXXXXXXXXXxx",
    { text }
  );

  const response = {
    statusCode: 200,
    body: JSON.stringify("Success"),
  };
  return response;
};
Completion#
With this, it will notify Slack at the timing specified by the cron expression. As long as you have prepared the Lambda layer, you can complete it by just clicking around in the browser and writing about 10 lines of code, making it very easy. While it’s a bit of a hassle that you can only write in vanilla JavaScript and not TypeScript, for such a simple task, anything should work fine.
AWS CDK Approach#
As mentioned above, I enjoy quickly doing things in the browser, but I also understand the desire to write code locally, push it to GitHub, and have it automatically deployed. I would like to introduce a style of deploying using AWS CDK with the same application as an example.
The implementation of the Lambda function will be done in TypeScript, the infrastructure configuration will be defined using AWS CDK, and deployment will be done with GitHub Actions. The source code I will introduce here can be found in this repository, so please refer to it as needed.
Directory Structure#
The directory structure is as follows, following the Reference project architecture found in the documentation for @aws-cdk/aws-lambda-nodejs.
slack-cron-bot-example
├── .env.local
├── .github
│  └── workflows
│     └── deploy.yml
├── .gitignore
├── .npmignore
├── bin
│  └── slack-cron-bot.ts
├── cdk.json
├── jest.config.js
├── lib
│  ├── app
│  │  └── postMessage.ts
│  ├── slack-cron-bot-stack.post.ts
│  └── slack-cron-bot-stack.ts
├── package-lock.json
├── package.json
├── README.md
├── test
│  └── slack-cron-bot.test.ts
└── tsconfig.json
According to the documentation:
The
NodejsFunctionallows you to define your CDK and runtime dependencies in a single package.json and to collocate your runtime code with your infrastructure code.
However, personally, I prefer to separate runtime code and infrastructure code as much as possible to avoid mutual dependencies 😓. But this time, I am adopting the recommended format by AWS.
Implementation#
From the state after running cdk init app --language=typescript, I only modified the following three files:
lib/app/postMessage.ts: Implementation code for posting to Slack.lib/slack-cron-bot-stack.ts: Definition of the CDK Stack.lib/slack-cron-bot-stack.post.ts: Implementation of the Lambda handler.
lib/app/postMessage.ts simply posts a message to the Slack Incoming Webhook URL.
lib/slack-cron-bot-stack.post.ts is the implementation of the Lambda handler, which just calls postMessage.
import { postMessage } from "./app/postMessage";

export const handler = async (_event: any, _context: any) => {
  await postMessage();
};
Now, let's take a look at the CDK Stack defined in lib/slack-cron-bot-stack.ts. It looks like this:
import * as cdk from "@aws-cdk/core";
import * as lambda from "@aws-cdk/aws-lambda-nodejs";
import * as events from "@aws-cdk/aws-events";
import * as targets from "@aws-cdk/aws-events-targets";
import * as dotenv from "dotenv";

export class SlackCronBotStack extends cdk.Stack {
  constructor(scope: cdk.Construct, id: string, props?: cdk.StackProps) {
    super(scope, id, props);

    // Read environment variables from the .env.local file. These are only used in the development environment, and nothing is done in the execution on GitHub Actions since the file is not present.
    dotenv.config({ path: ".env.local" });

    // Create Lambda function
    const handler = new lambda.NodejsFunction(this, "post", {
      environment: {
        SLACK_INCOMING_WEBHOOK_URL:
          process.env.SLACK_INCOMING_WEBHOOK_URL ||
          "Please set SLACK_INCOMING_WEBHOOK_URL",
      },
    });

    // Create EventBridge (function execution schedule)
    const target = new targets.LambdaFunction(handler);
    const scheduleExpression =
      process.env.SCHEDULE_EXPRESSION || "cron(0 3 * * ? *)";
    new events.Rule(this, "rule", {
      schedule: events.Schedule.expression(scheduleExpression),
      targets: [target],
    });
  }
}
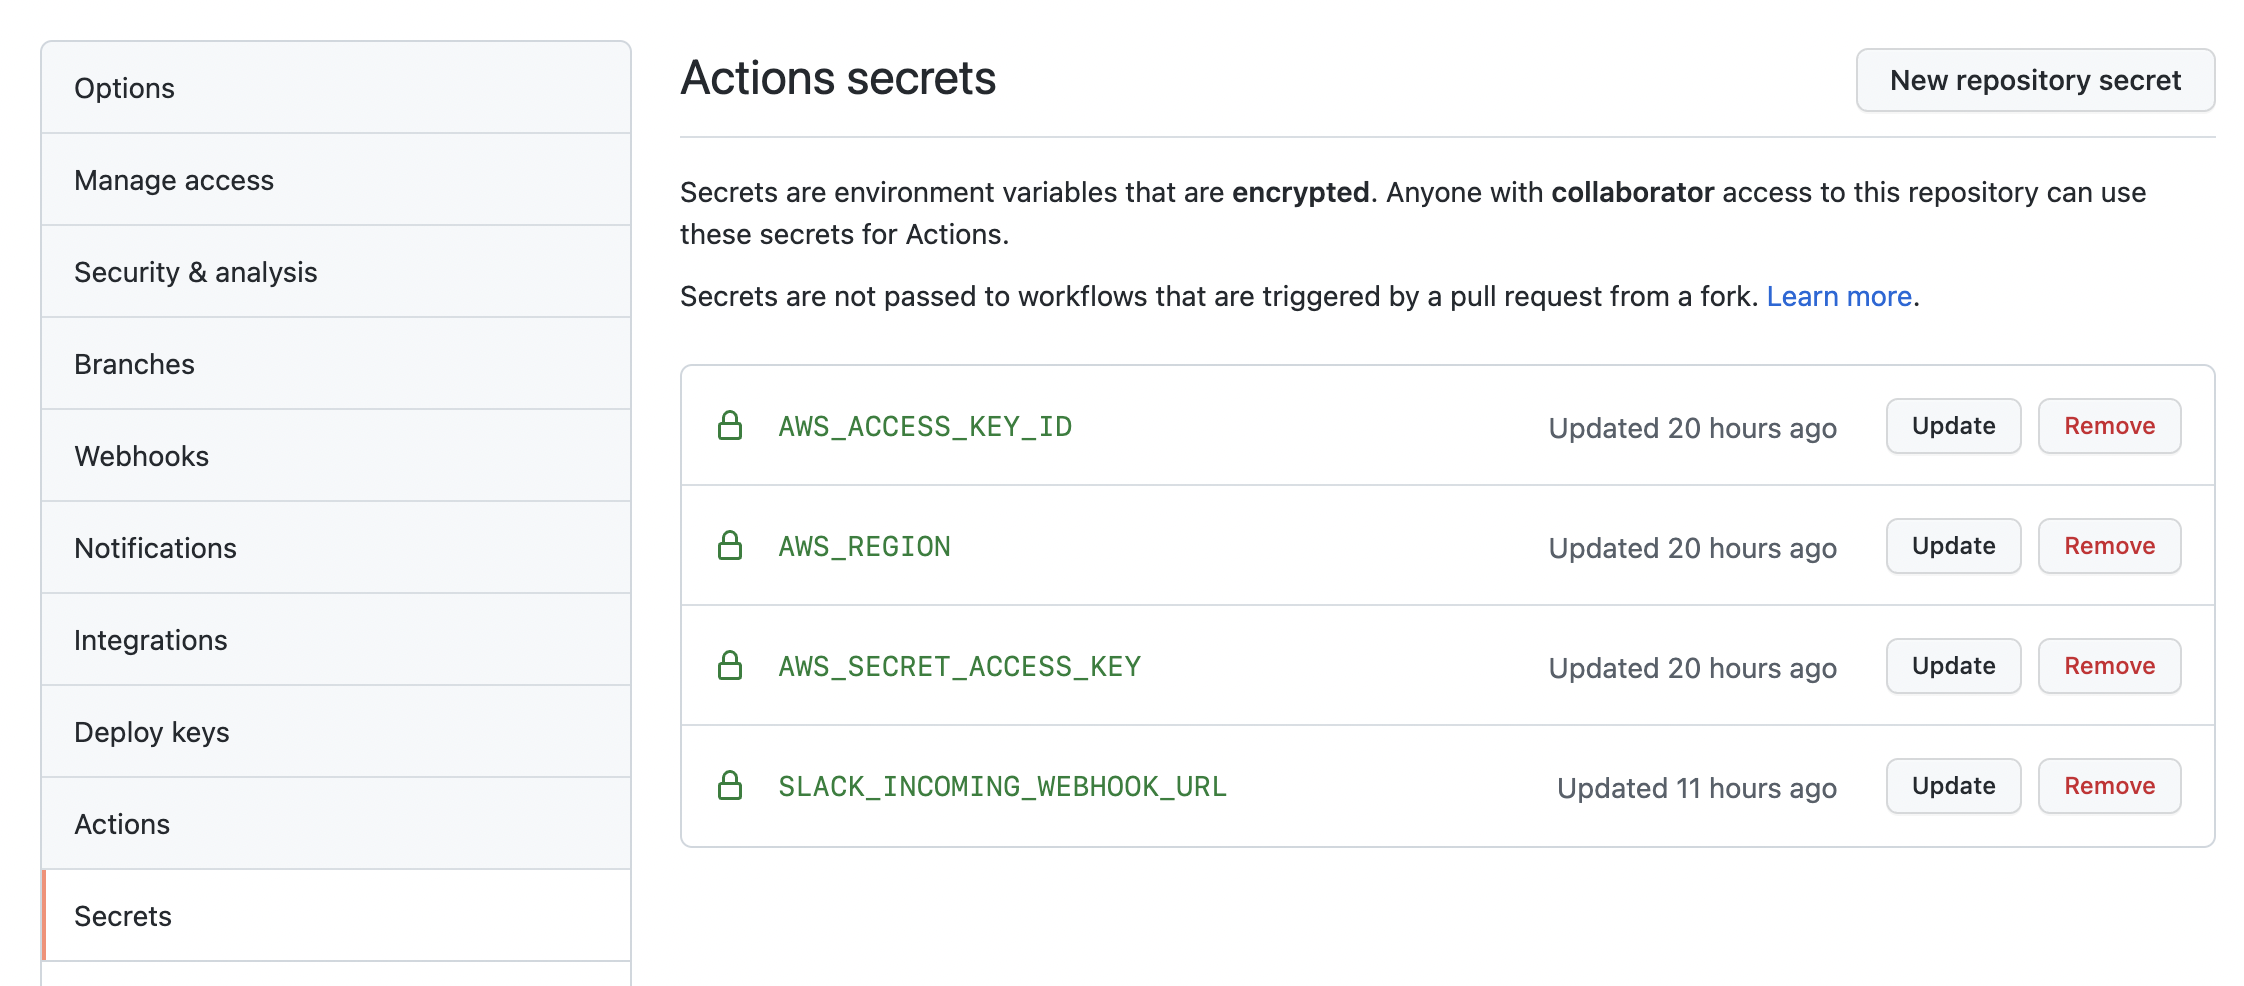
I have added comments in the source code, but it creates a Lambda function and sets up a rule for the EventBridge function invocation trigger. The environment variables referenced as process.env.* will be read from the Action secrets set in the execution environment of GitHub Actions.
The CDK Stack defines the infrastructure configuration, but unlike YAML or JSON, it is a regular programming language, so you can use packages like dotenv, which is convenient. You can also have autocompletion and write tests (although tests are not written in this repository!).
Deployment#
The deployment job as GitHub Actions is defined in .github/workflows/deploy.yml.
name: CDK deploy

on:
  push:
    branches: ["main"]

jobs:
  deploy:
    name: CDK deploy
    runs-on: ubuntu-latest
    steps:
      - uses: actions/checkout@v2
      - uses: actions/setup-node@v2.4.1
        with:
          node-version: "14"
      - name: Setup AWS CDK
        run: npm install -g aws-cdk@1.134.0
      - name: Setup Dependencies
        run: npm ci
      - name: CDK deploy
        run: cdk deploy --require-approval never
        env:
          AWS_DEFAULT_REGION: ${{ secrets.AWS_REGION }}
          AWS_ACCESS_KEY_ID: ${{ secrets.AWS_ACCESS_KEY_ID }}
          AWS_SECRET_ACCESS_KEY: ${{ secrets.AWS_SECRET_ACCESS_KEY }}
          SLACK_INCOMING_WEBHOOK_URL: ${{ secrets.SLACK_INCOMING_WEBHOOK_URL }}
When you push to the main branch, it will execute cdk deploy. You might wonder where the TypeScript transpilation happens, but:
The NodejsFunction construct creates a Lambda function with automatic transpiling and bundling of TypeScript or Javascript code.
So it seems that @aws-cdk/aws-lambda-nodejs takes care of that. Convenient~. It’s a small detail, but note that on a remote machine without an interactive environment, you need to add the --require-approval never option to cdk deploy to avoid it stopping. The environment variables specified in env: are read from the Action secrets set in GitHub Actions.
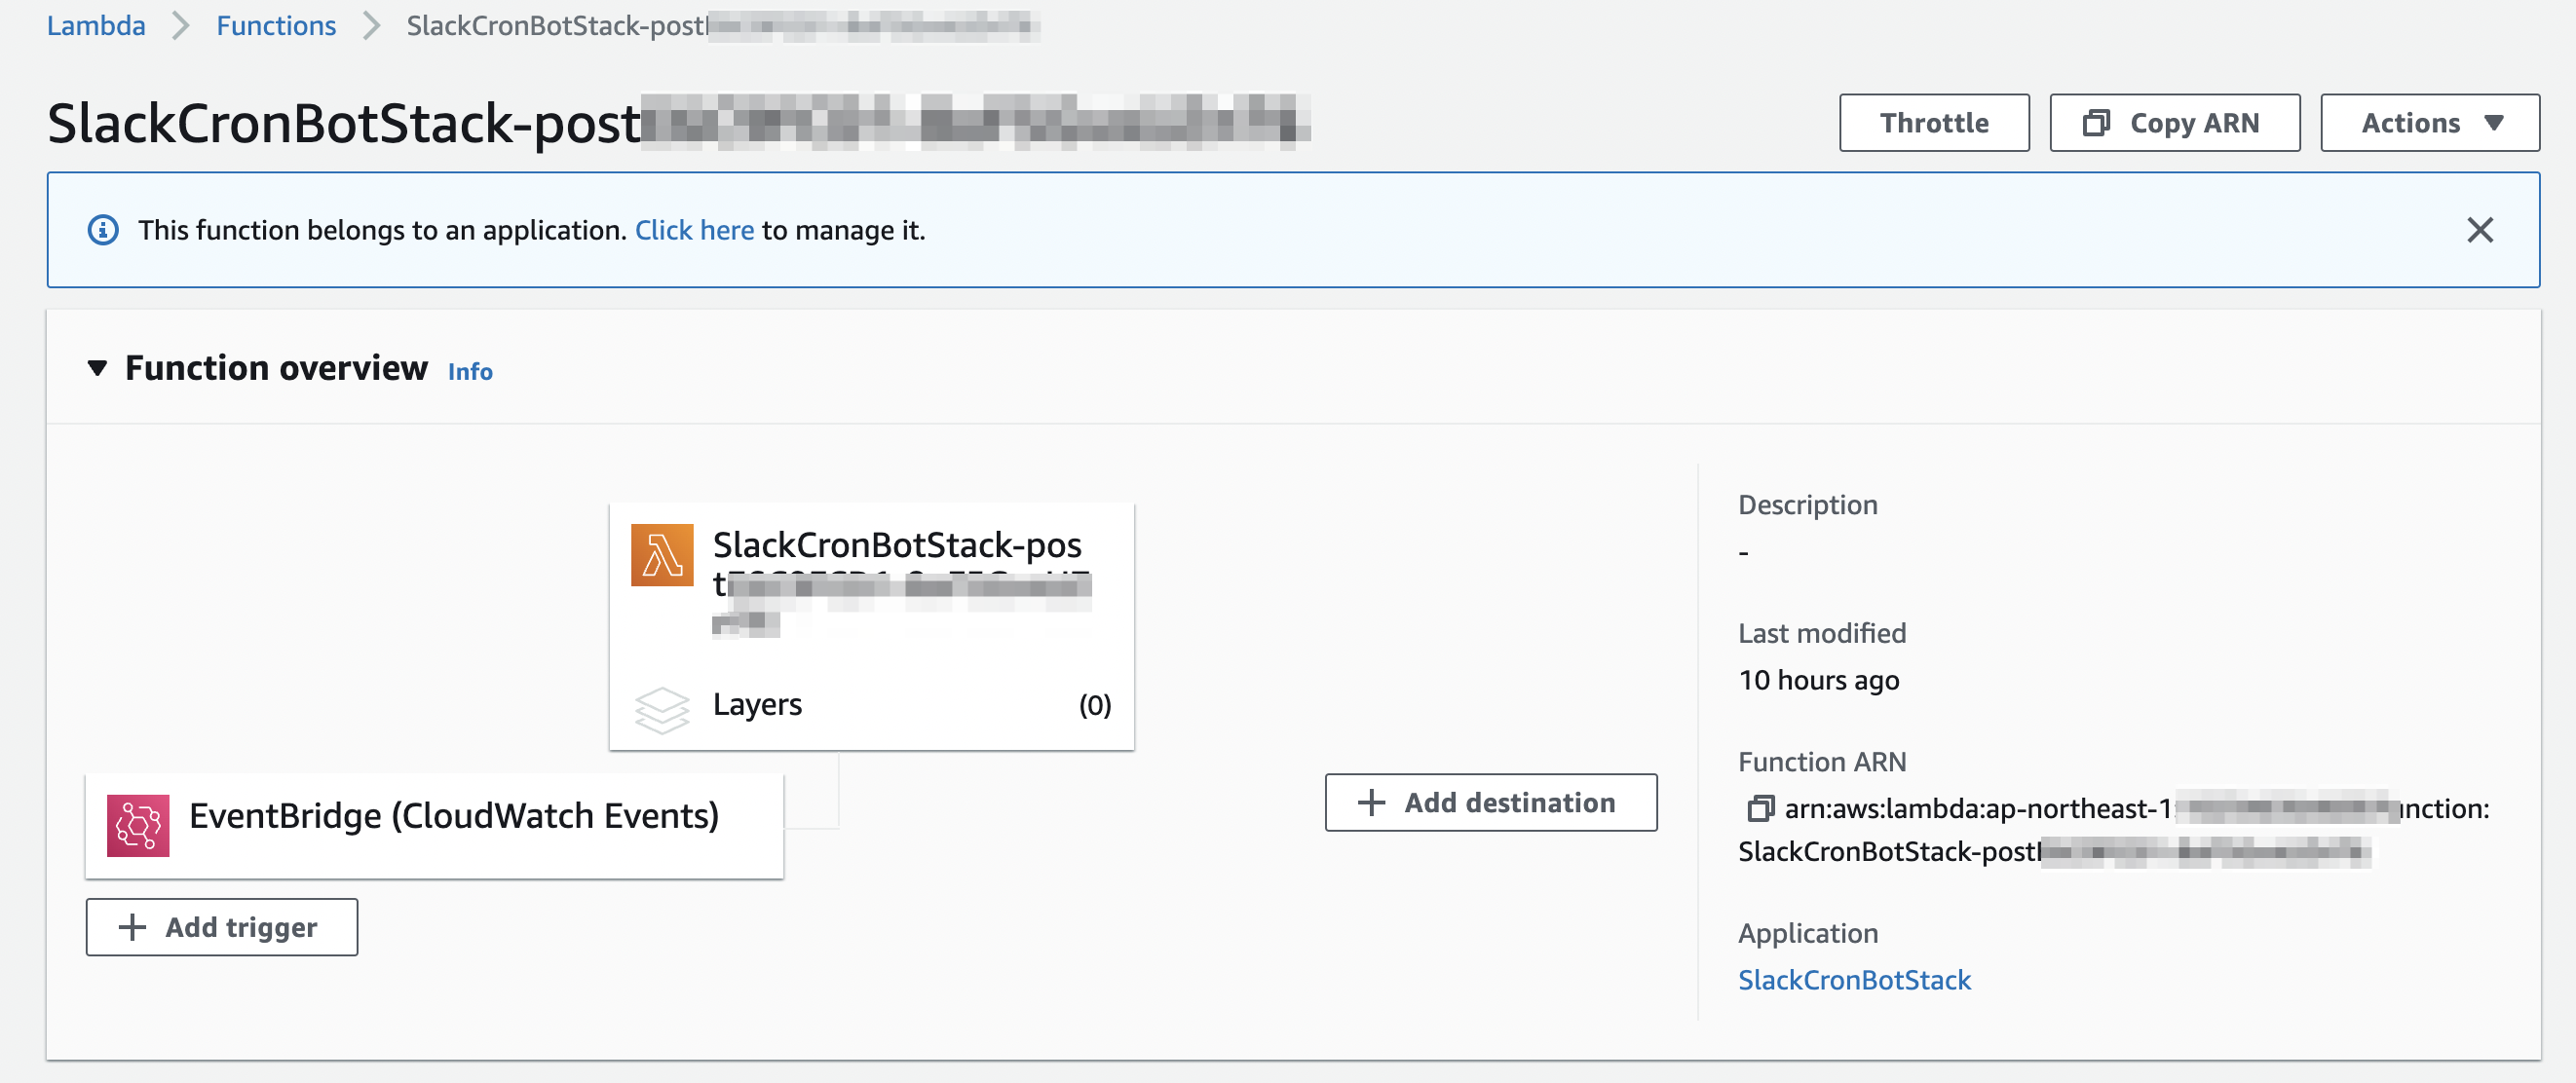
Completion#
When the deployment job runs, resources are created on AWS, and when you open the console in the browser, it looks like this.
Conclusion#
I introduced two ways to easily create regularly executed jobs that are often needed in households. Since this is primarily for home use, the first method is undoubtedly the easiest to create, but in situations where multiple people are developing outside, the latter method is preferable. If you find yourself wanting to notify Slack with a slightly elaborate message that cannot be achieved with a Slackbot in your household, please give it a try 😉.